ΑΡΧΙΚΗ
ΣΧΕΤΙΚΑ ΜΕ ΤΗΝ ΕΤΑΙΡΙΑ
ΑΝΑΖΗΤΗΣΗ:
Ανοίγει σε νέο παράθυρο
Ανοίγει σε νέο παράθυρο
Ανοίγει σε νέο παράθυρο
Ανοίγει σε νέο παράθυρο
ΦΟΡΜΑ ΖΗΤΗΣΗΣ ΠΡΟΣΦΟΡΑΣ
ΕΛ
|
ENG
Κατάλογος
Επίπλων
Κατάλογος
είδών Διακόσμησης
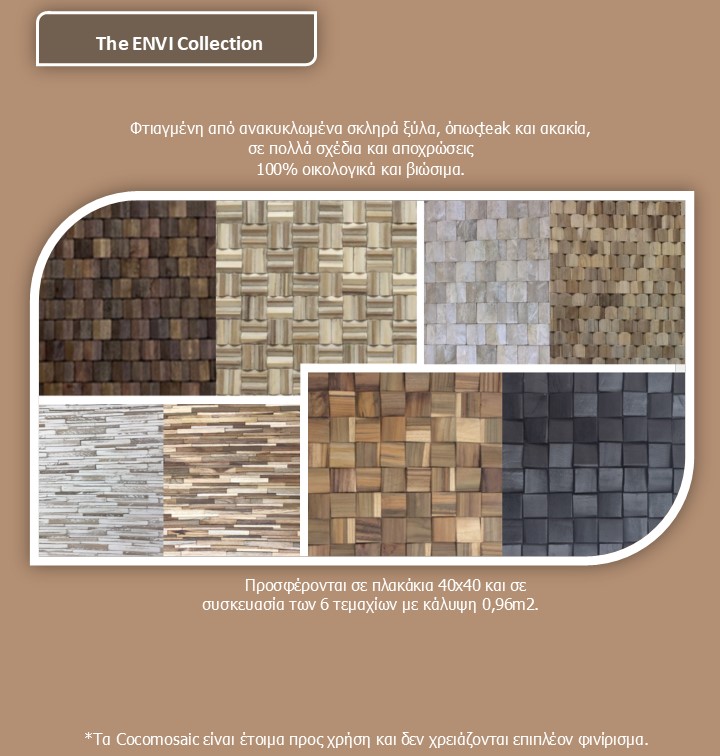
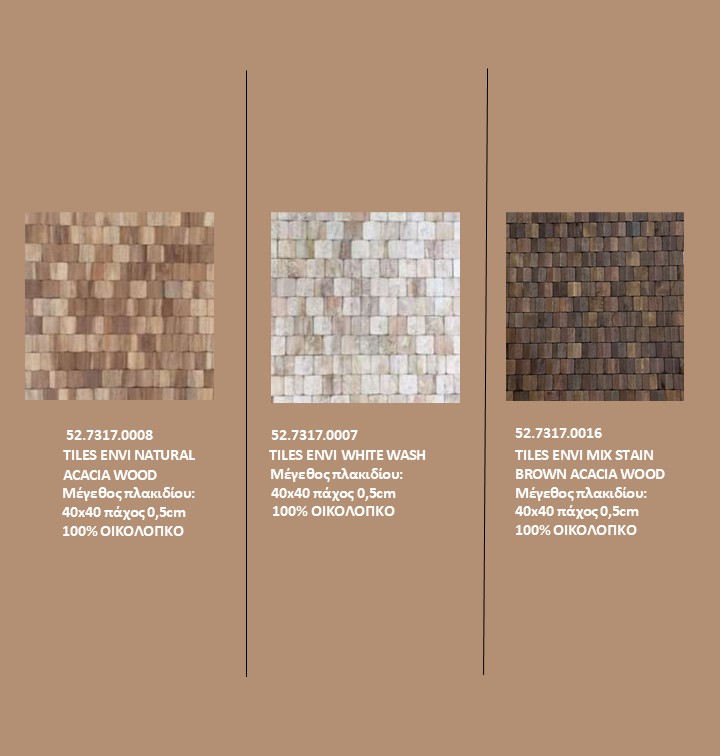
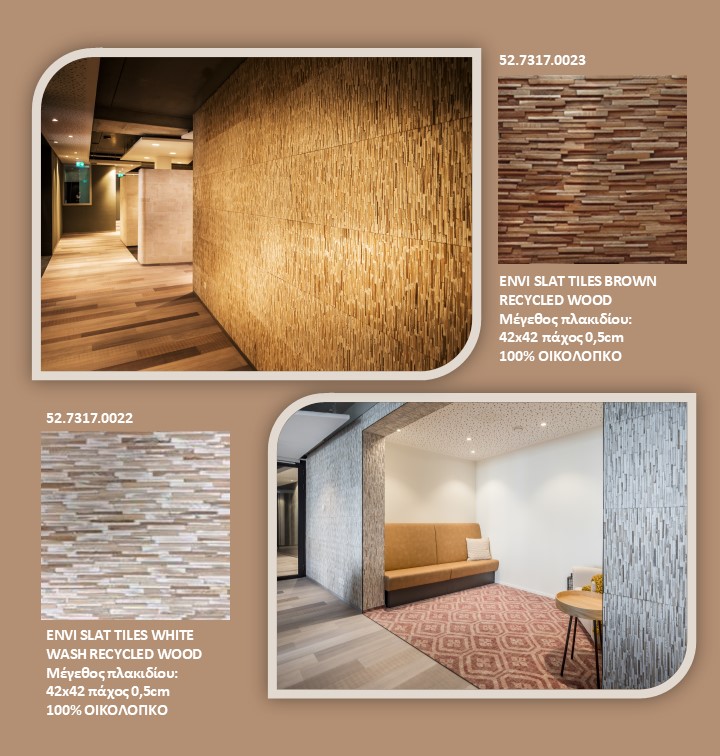
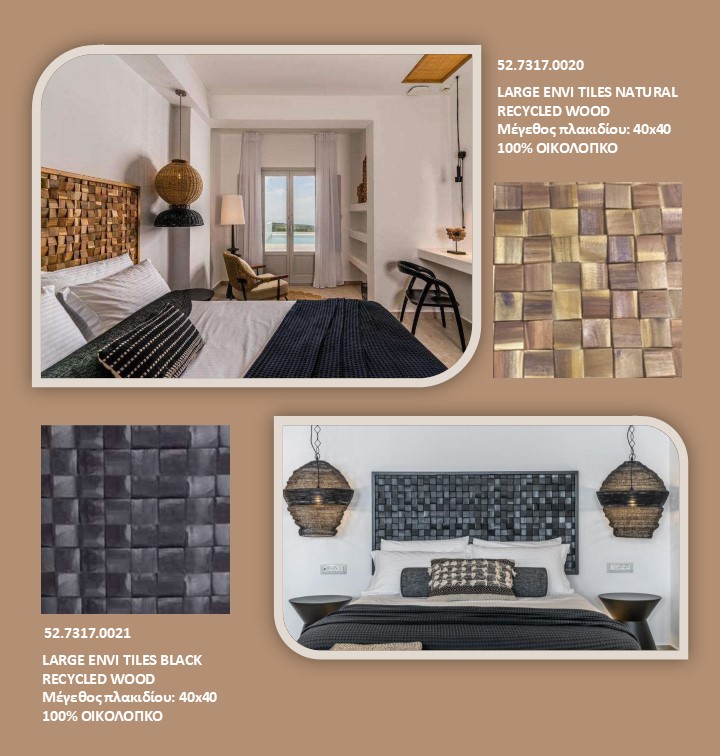
Οικολογική
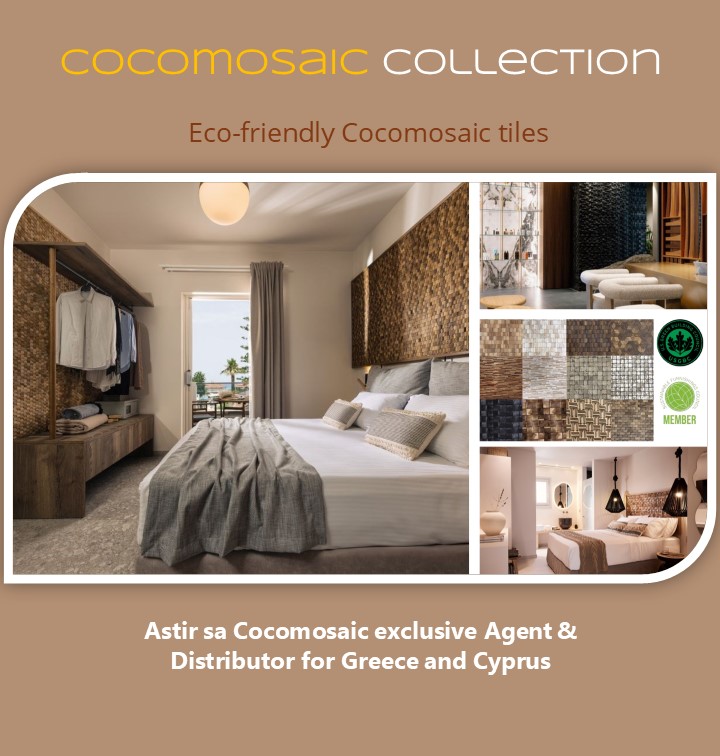
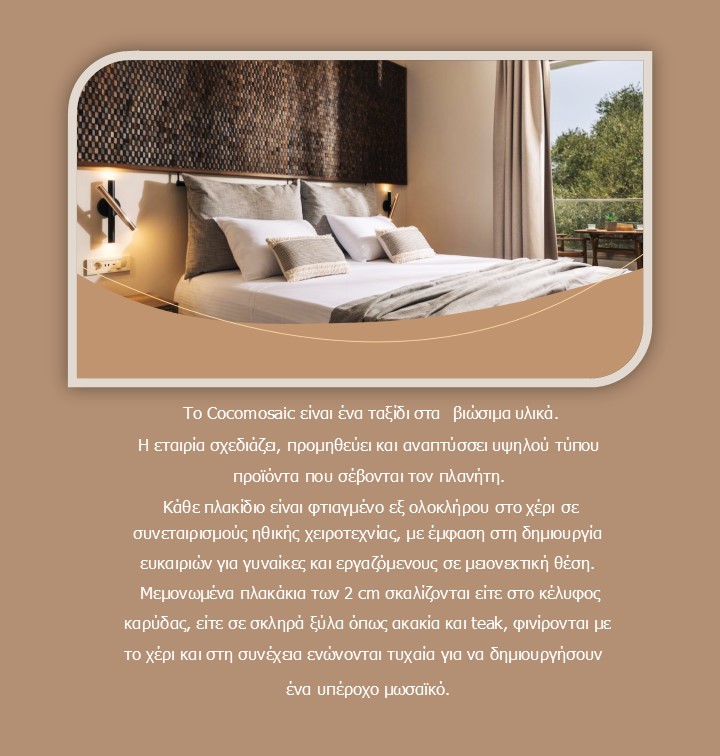
Συλλογή
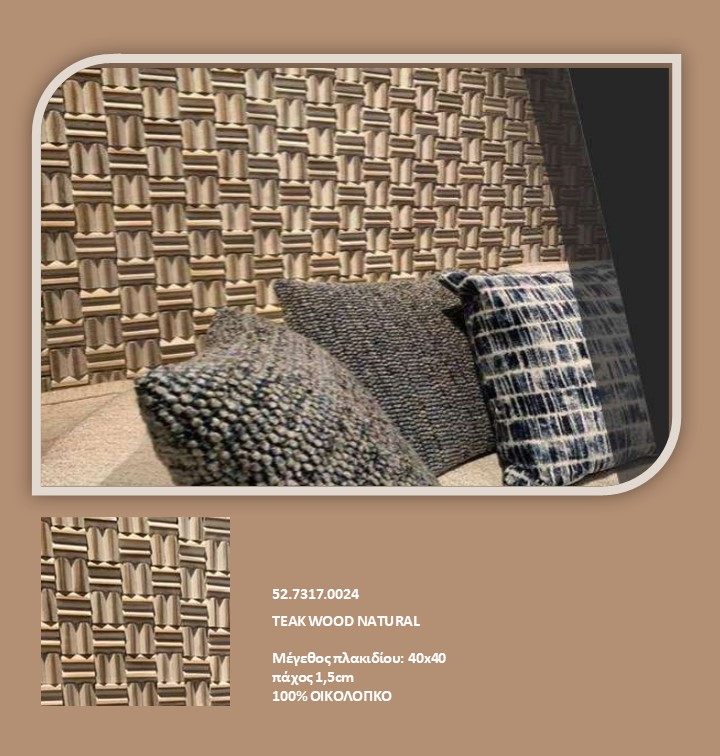
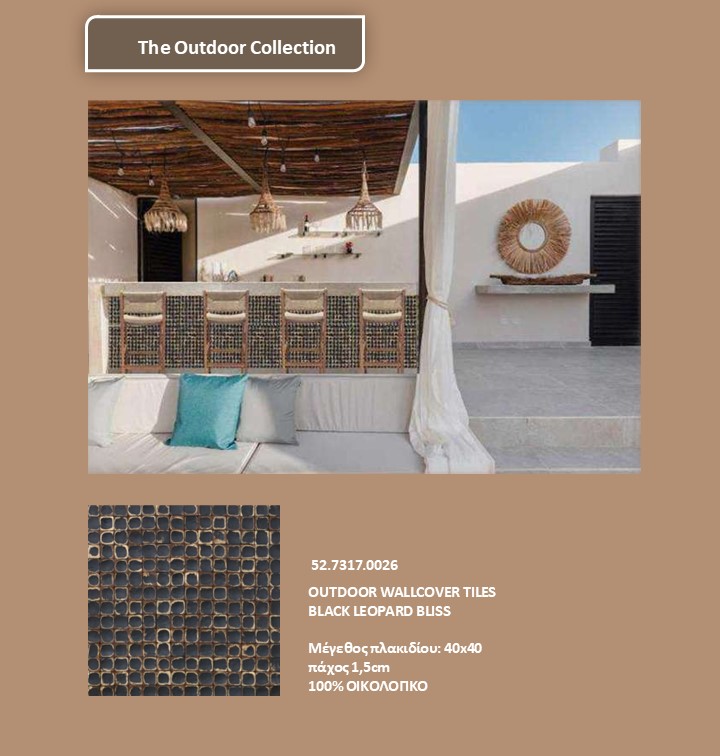
Cocomosaic
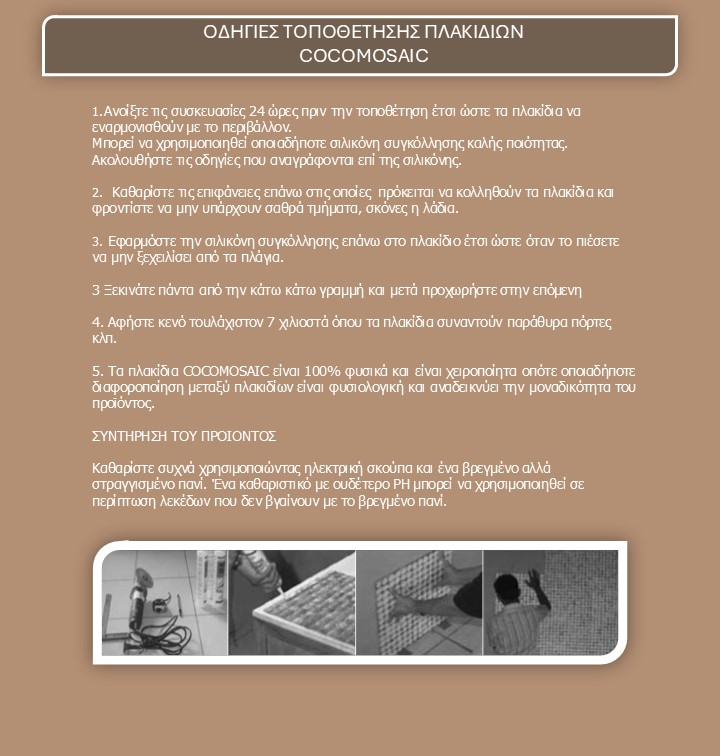
Προδιαγραφές
- Οδηγίες
Συντήρησης
Προσφορές
Τελευταία
κομμάτια
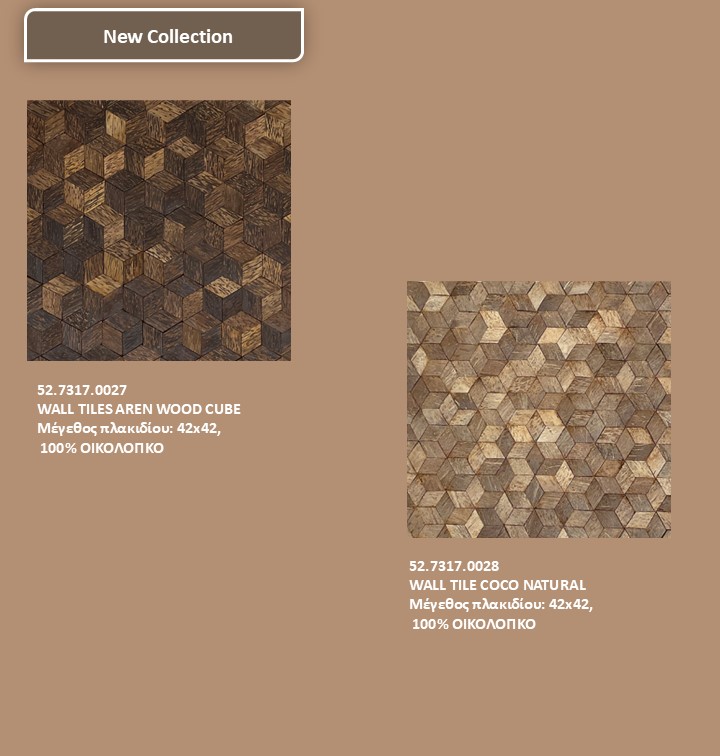
NEW COLLECTION SUMMER 2025
Πατήστε εδώ για να ζητήσετε τιμοκατάλογο
ΣΤΟΙΧΕΙΑ ΕΠΙΚΟΙΝΩΝΙΑΣ
|
PRIVACY POLICY
Ανοίγει σε νέο παράθυρο
WCAG 2.0 (Level AA) by:
CARV PHOTOGRAPHY
Ανοίγει σε νέο παράθυρο
⇡